
Walk across a tile floor and one area answers back with a sharp, drum-like tap. Everything else sounds solid. That hollow tap is a void: a pocket where the mortar never actually bonded the tile to the slab. It did not appear on its own, and it will not stabilize on its own. Voids are where tile floors begin to crack, loosen, and shift, and almost every one of them traces back to how the floor was set on day one.
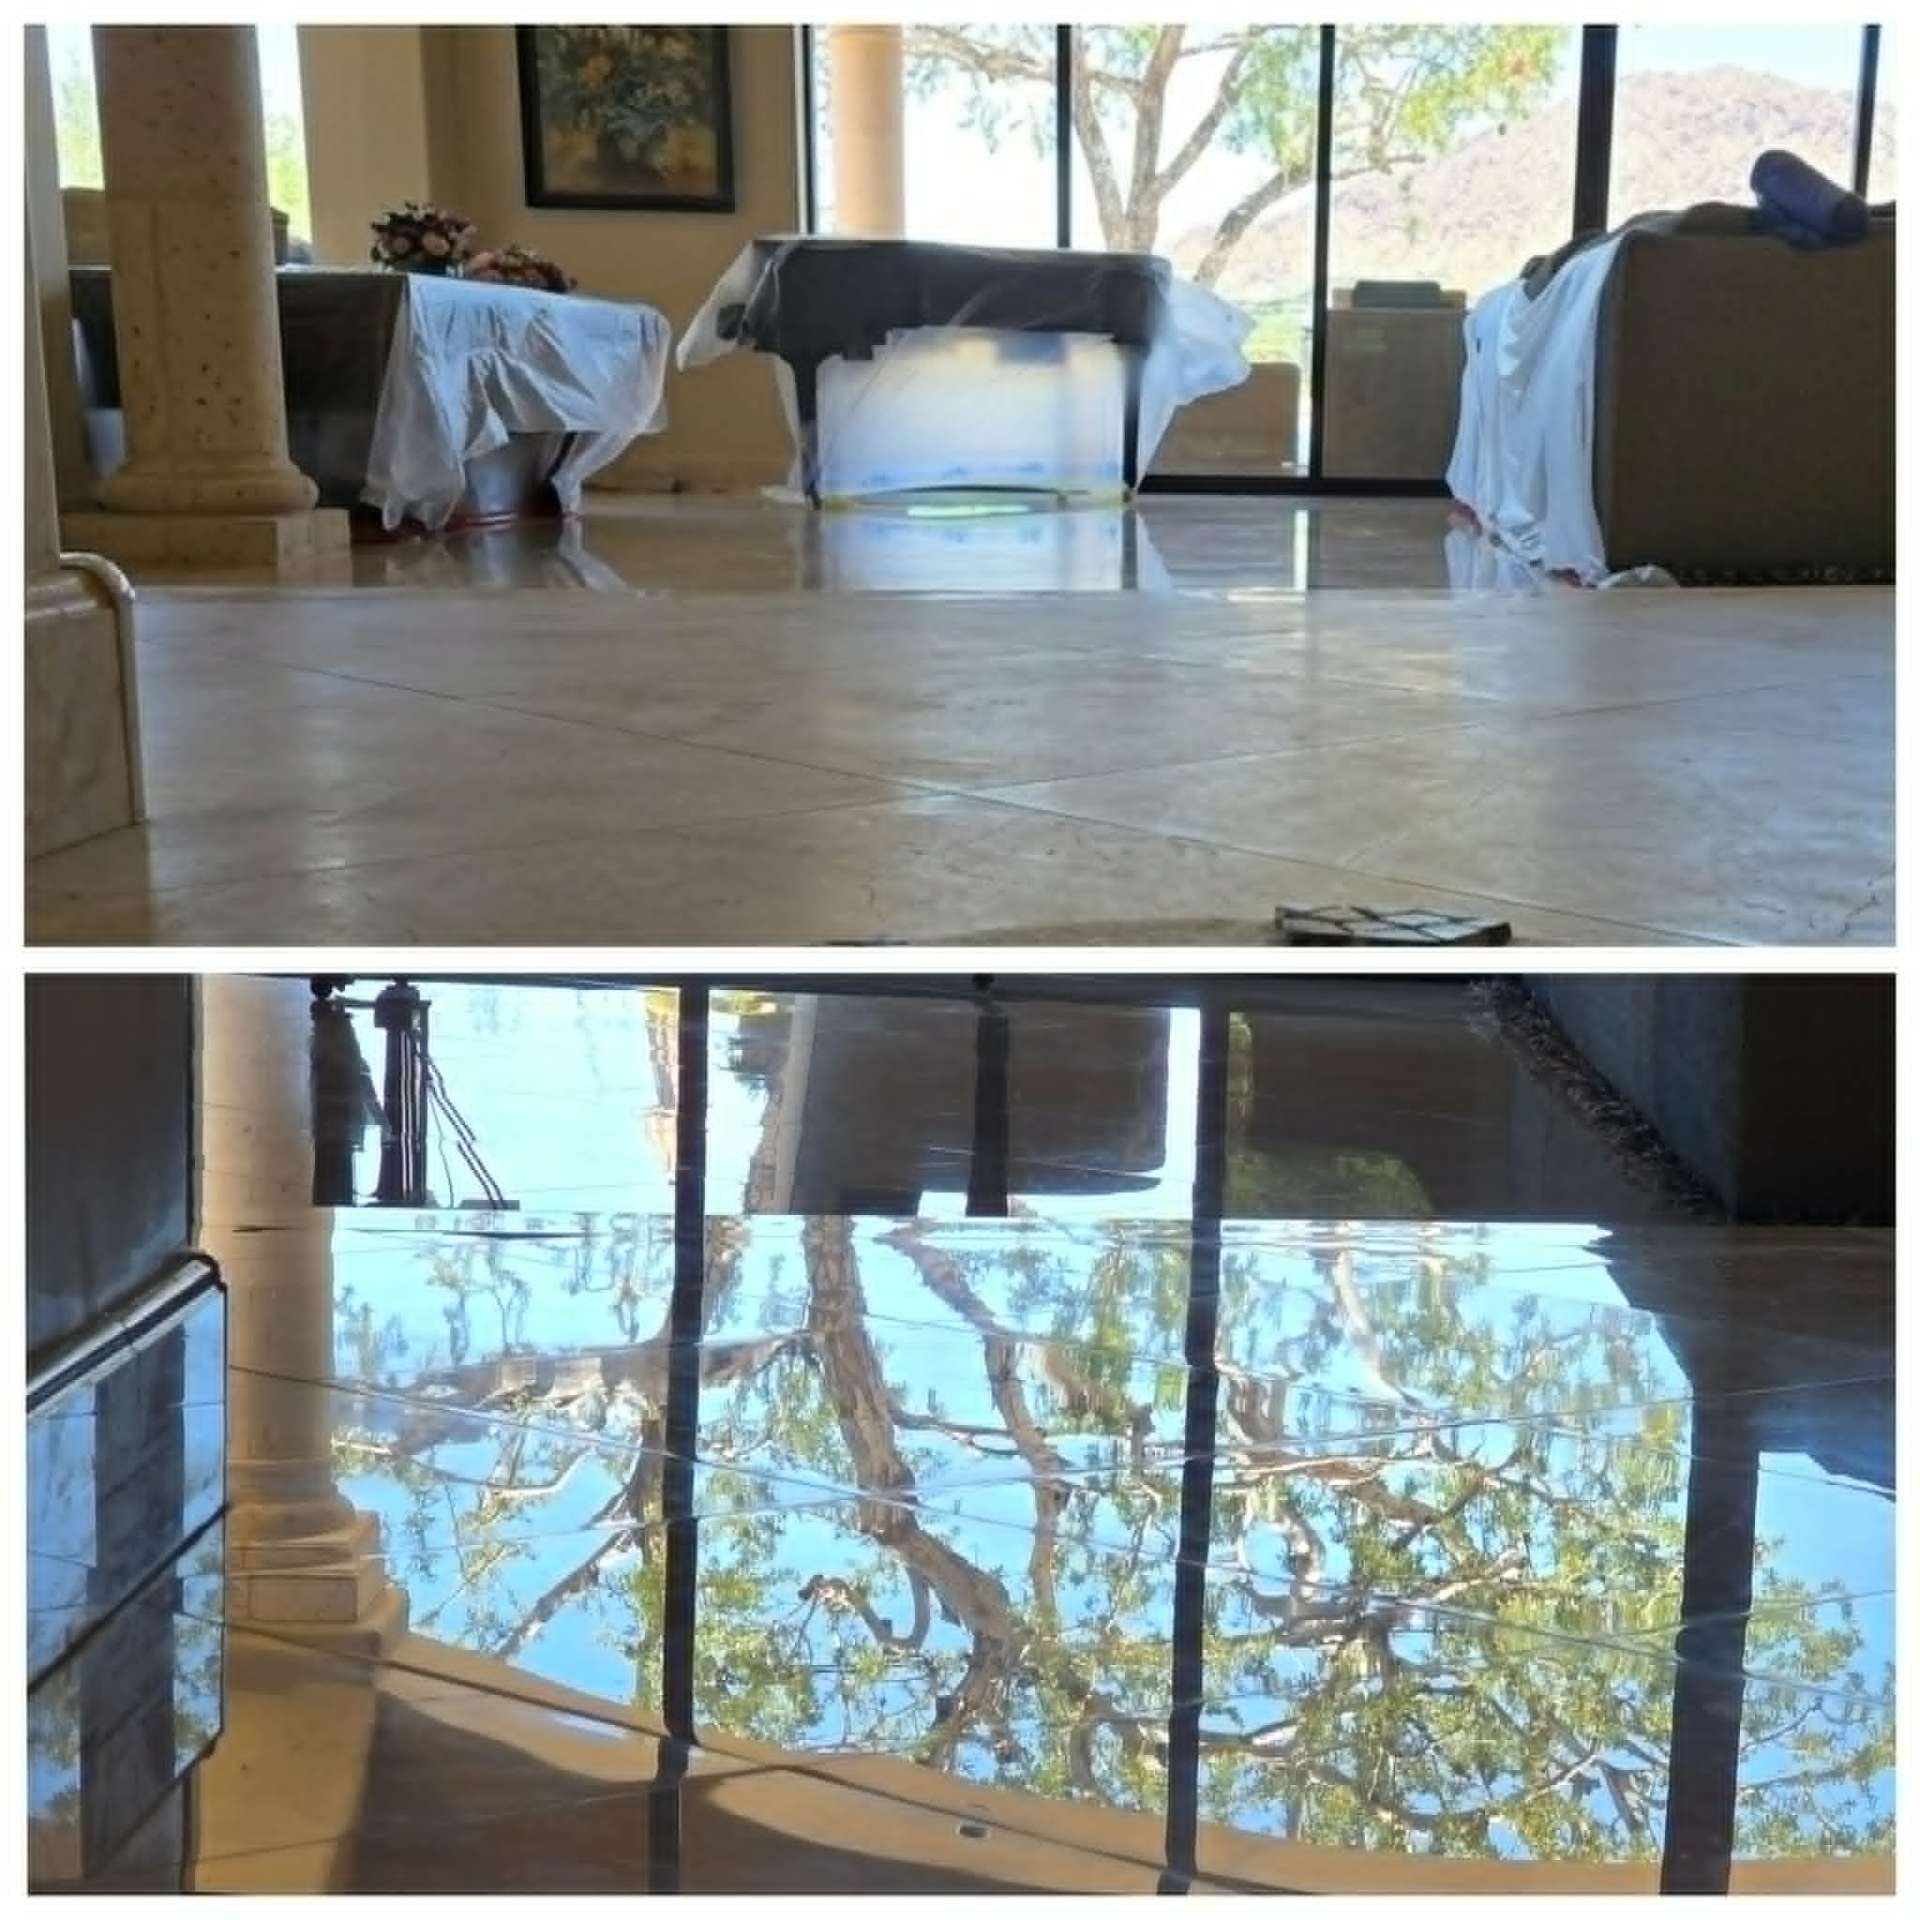
What Hollow Tile Actually Means
A tile floor is a bonded system. The tile, the mortar, and the slab are supposed to behave as one layer that shares every footstep, every furniture load, and every bit of thermal movement. When mortar makes full contact with both the back of the tile and the slab, that load spreads across the entire footprint of the tile and nothing concentrates in one place. When mortar is missing under part of the tile, there is nothing to spread the load into. The tile becomes a small unsupported bridge over an air pocket.
The hollow sound is simply the void resonating. That is why tapping is the oldest and still the most reliable field test for bond: solid mortar contact returns a dull, dense tone, and a void returns a hollow ring. On a large format porcelain or a natural stone floor, we sound the field tile, the perimeter, the door thresholds, and the transitions, because voids cluster in predictable places rather than spreading evenly.
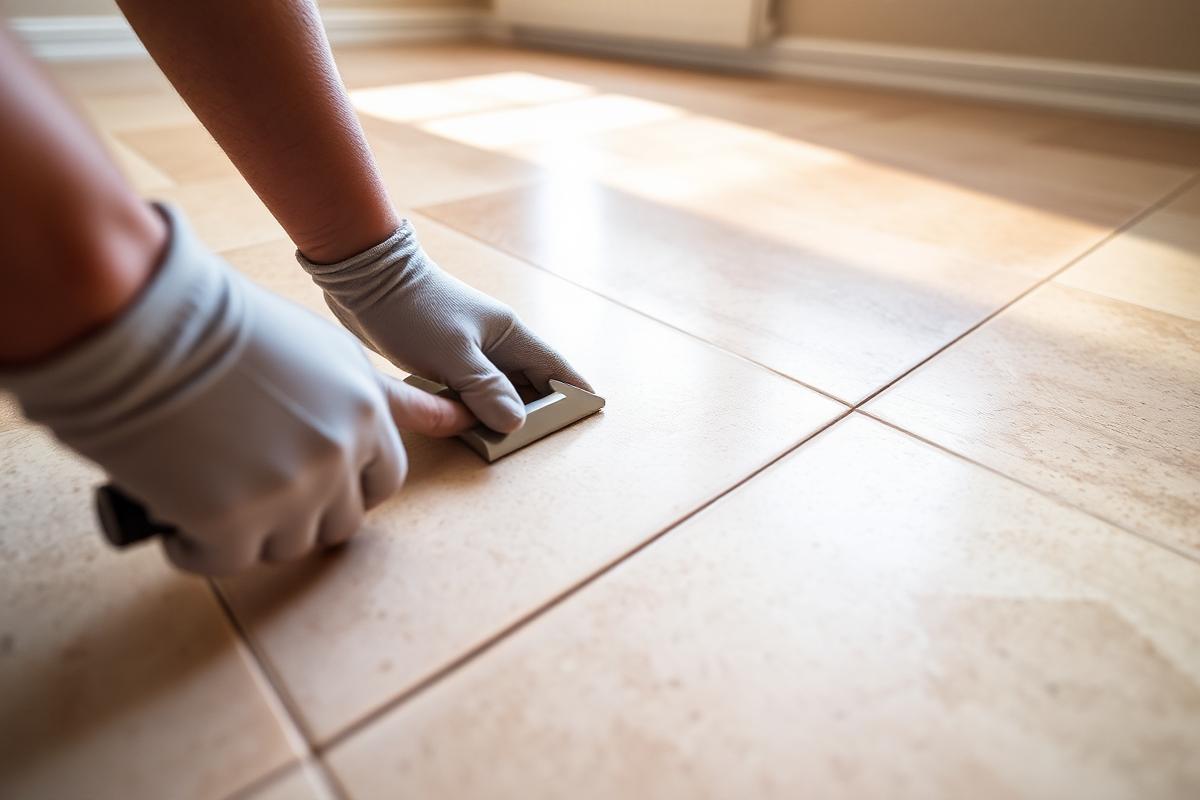
A hollow tile is not a cosmetic finding. It is a documented bond failure. Grout cracks, loose baseboards, and cracked tile in that same area are symptoms of the void, not separate problems.
How Improper Setting Creates the Void
Industry standards are specific about mortar coverage. ANSI A108 and TCNA guidelines call for approximately 80 percent mortar contact for interior dry areas and approximately 95 percent for wet areas, exteriors, and natural stone, with full support at all corners and edges. Most of the hollow floors we are called out to in Chandler, Gilbert, Mesa and Paradise Valley never came close to that number, and every failure mode below is a shortcut taken during setting.
- Spot bonding: five dabs of mortar, one at each corner and one in the middle, leaving the rest of the tile suspended over air. It is fast, it feels stable underfoot for a while, and it is the single most common cause of hollow tile we find on stone and large format tile
- Troweling in the wrong direction: notches run in curves or random directions, so ridges never collapse flat and air stays trapped in the pattern instead of being pushed out
- Wrong notch size for the tile: a quarter inch notch under a 24 by 48 inch porcelain plank cannot supply enough mortar to fill the panel's slight bow, so the center is starved
- Skinned over mortar: in Arizona heat the mortar surface forms a skin in minutes. Tile set into skinned mortar looks bedded but never chemically bonds. Cool weather stone install, hot garage door open, or a slow crew all produce the same result
- No back buttering on stone or large format: any tile with a bowed or ribbed back needs back buttering to fill that profile, or the void is built in at the factory profile
- Dusty, sealed, curing, or contaminated slab: mortar cannot bond to bond breakers, curing compound, drywall dust, or a slab that was never cleaned
- Missing movement joints: a floor with no soft joints at the perimeter and no field joints in a large run has nowhere to expand except into itself
- Tile set directly over a crack in the slab with no crack isolation membrane, which guarantees the slab crack telegraphs straight up through the tile
| Installation Error | What You Notice Later | Typical Timeline |
|---|---|---|
| Spot bonding with mortar dabs | Hollow tap, then cracked tile straight through the center | 1 to 5 years |
| Under 80 percent mortar coverage | Corners chip, edges crack, grout crumbles along one line | 2 to 6 years |
| Wrong notch size for large format | Hollow centers on plank tile, cracks parallel to the long edge | 1 to 4 years |
| Mortar skinned over before setting | Whole tiles lift or rock, tenting after a hot season | 6 months to 3 years |
| No perimeter or field movement joints | Tenting, ridging at doorways, cracked grout in long runs | 1 to 7 years |
| No crack isolation over a slab crack | A single straight crack running through multiple tiles | Immediate to 3 years |
| Contaminated or dusty slab | Sheet debonding across a whole room, tile lifts in pieces | Any time |
Why a Void Turns Into a Stress Crack
Porcelain and stone are strong in compression and weak in bending. Fully bedded tile is never asked to bend, because the mortar carries the load down into the slab. Over a void, the tile has to carry that load itself across an unsupported span. Every footstep flexes it a fraction of a millimeter. Tile does not fatigue gracefully. It accumulates that flexing until the weakest point, usually the middle of the void or the edge where support stops, gives up and fractures.
That is why stress cracks have a signature. They are usually straight or gently curved, they run through the body of the tile rather than starting at a chipped corner, and they often continue across several tiles in a line, right through the grout joints, because they are following a stress path rather than a single impact point. An impact crack, by contrast, radiates out from one obvious point where something heavy landed.
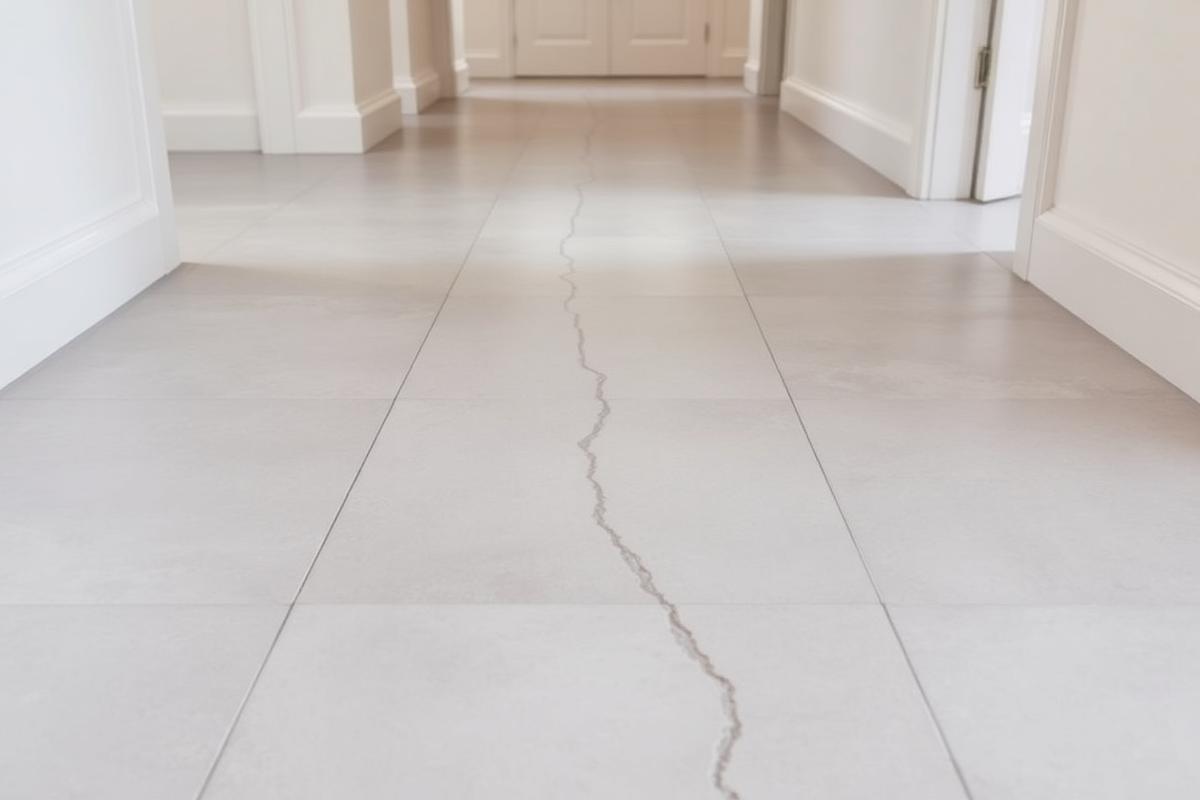
- Straight crack continuing through several tiles in a row: slab movement, a shrinkage crack below, or a missing movement joint
- Crack through the center of one tile with a hollow sound around it: a void from spot bonding or starved coverage
- Crack starting at a corner or edge with a chip: impact, or a corner that was never supported by mortar
- Tile rocking or clicking under foot with intact grout: full debonding, the tile is loose but still framed by its neighbors
- Tile lifting or tenting at a doorway or long run: compressive stress with no movement joint to relieve it
- Cracked grout in one continuous line while the tile is fine: movement concentrating at the joint, often the earliest warning
Debonding and Shifting: The Progression
Debonding is progressive, and each stage makes the next one faster. A void starts small. Foot traffic works the tile against the small amount of mortar that is holding, and that contact area shears a little more each month. Water is the accelerator. Mop water, a shower splash zone, a slow appliance leak, or irrigation pushing under a patio door migrates into a hollow cavity through cracked grout and sits there. Mortar that is repeatedly wet and dried at the bond line loses strength, and the void expands outward from where the water pooled.
Once several adjacent tiles are hollow, the floor stops behaving like a bonded assembly and starts behaving like loose plates held in place by grout. Now the grout is doing structural work it was never designed to do. Joints crumble, baseboards separate, the floor shifts slightly underfoot, and thermal expansion has nowhere to go but up. That is when a two tile repair becomes a room.
Arizona makes this worse. Post tension and expansive soil slabs move seasonally, summer surface temperatures swing hard through sliding doors and windows, and monsoon moisture changes soil volume under the slab. A floor with marginal mortar coverage survives a mild climate for decades and fails here in a few years.
What a Real Hollow Tile Repair Looks Like
We never seal, color seal, or polish over a hollow or cracked area. Sealing a failing joint locks the problem in and makes the eventual repair harder and more expensive. Repair comes first, every time, and then the floor gets finished as one uniform surface.
- Sound the entire floor and map every void, not only the tile you noticed. We mark the extent so the repair covers the failure rather than the symptom
- Diagnose the cause. A single hollow tile in a field of solid tile is a coverage problem. A straight crack across a room is slab movement and needs a different fix
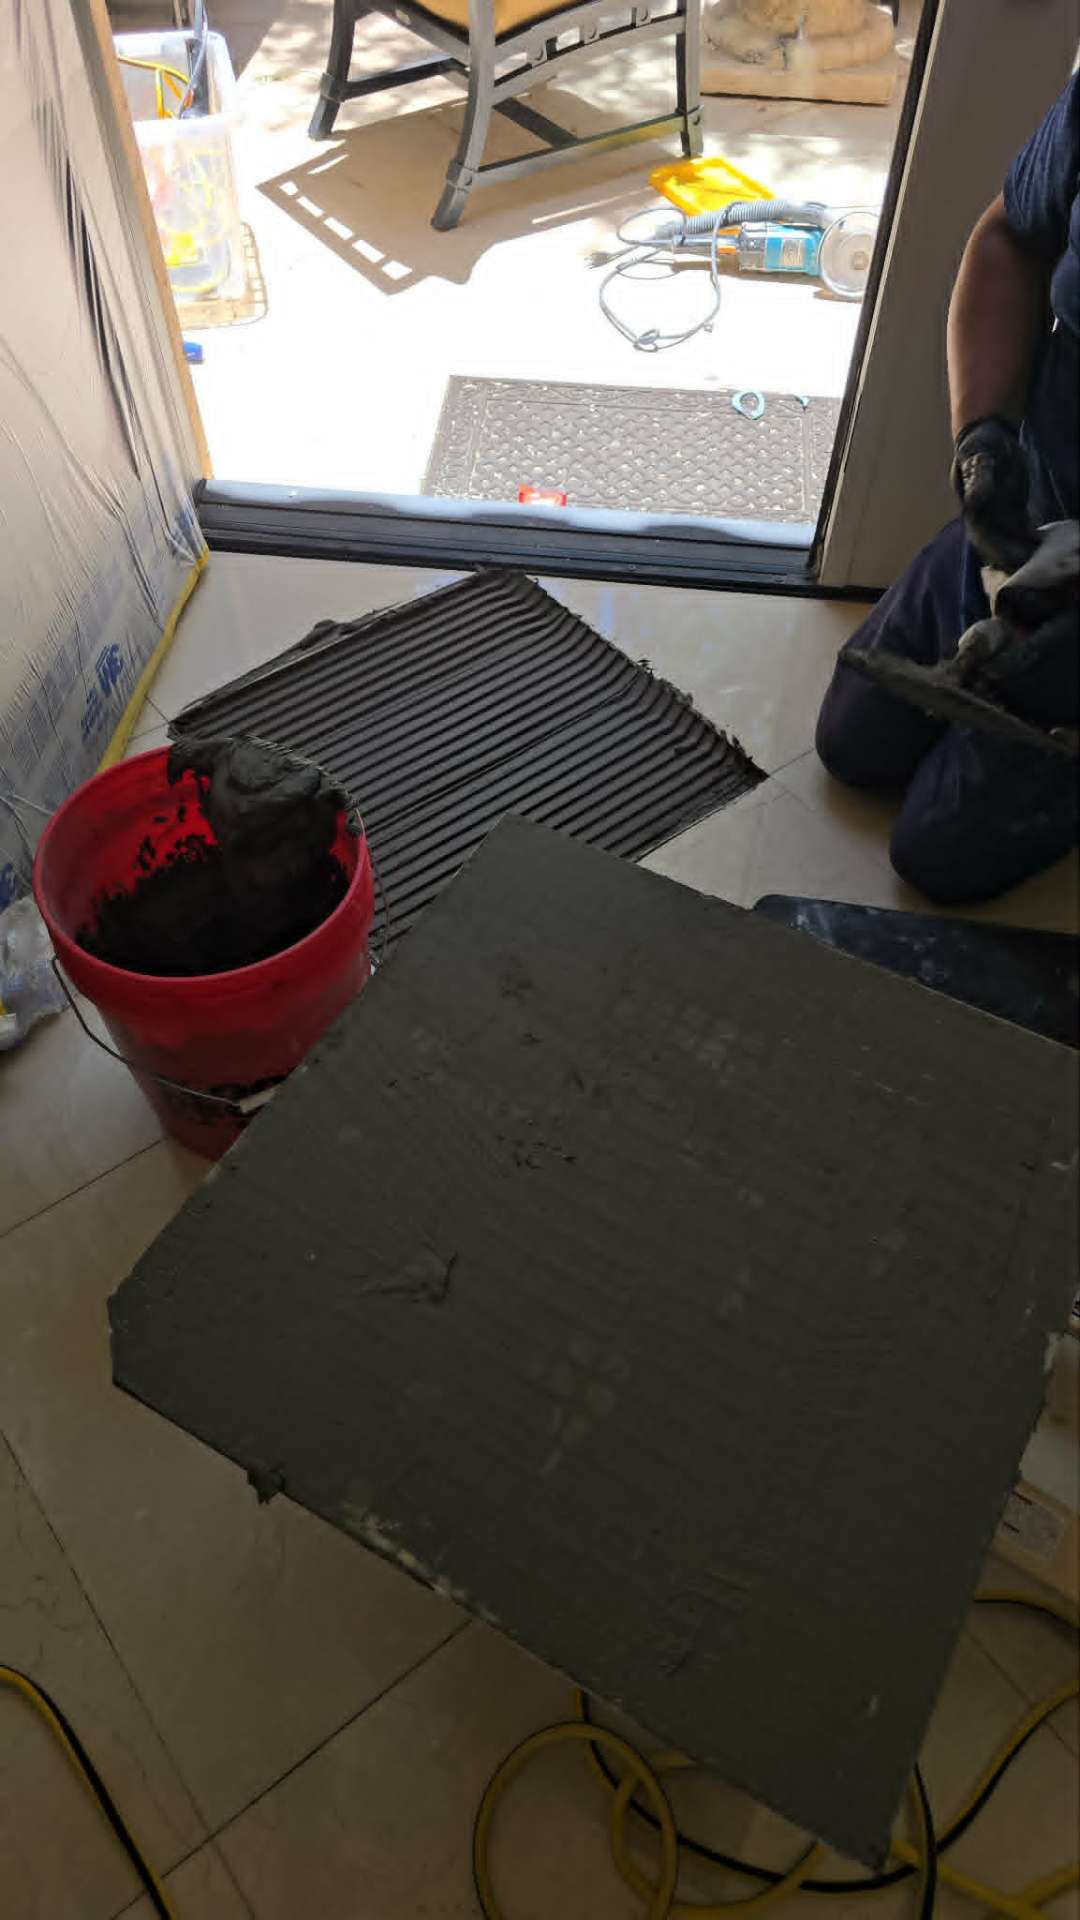
- Remove tile with an oscillating tool and controlled grout joint cuts so neighboring sound tile is not disturbed
- Chase and clean the substrate down to sound concrete. All old mortar, thinset ridges, dust, and contamination come off before anything new goes down
- Address movement where it exists: crack isolation membrane over an active slab crack, and a soft joint at the perimeter or in the field where one was omitted
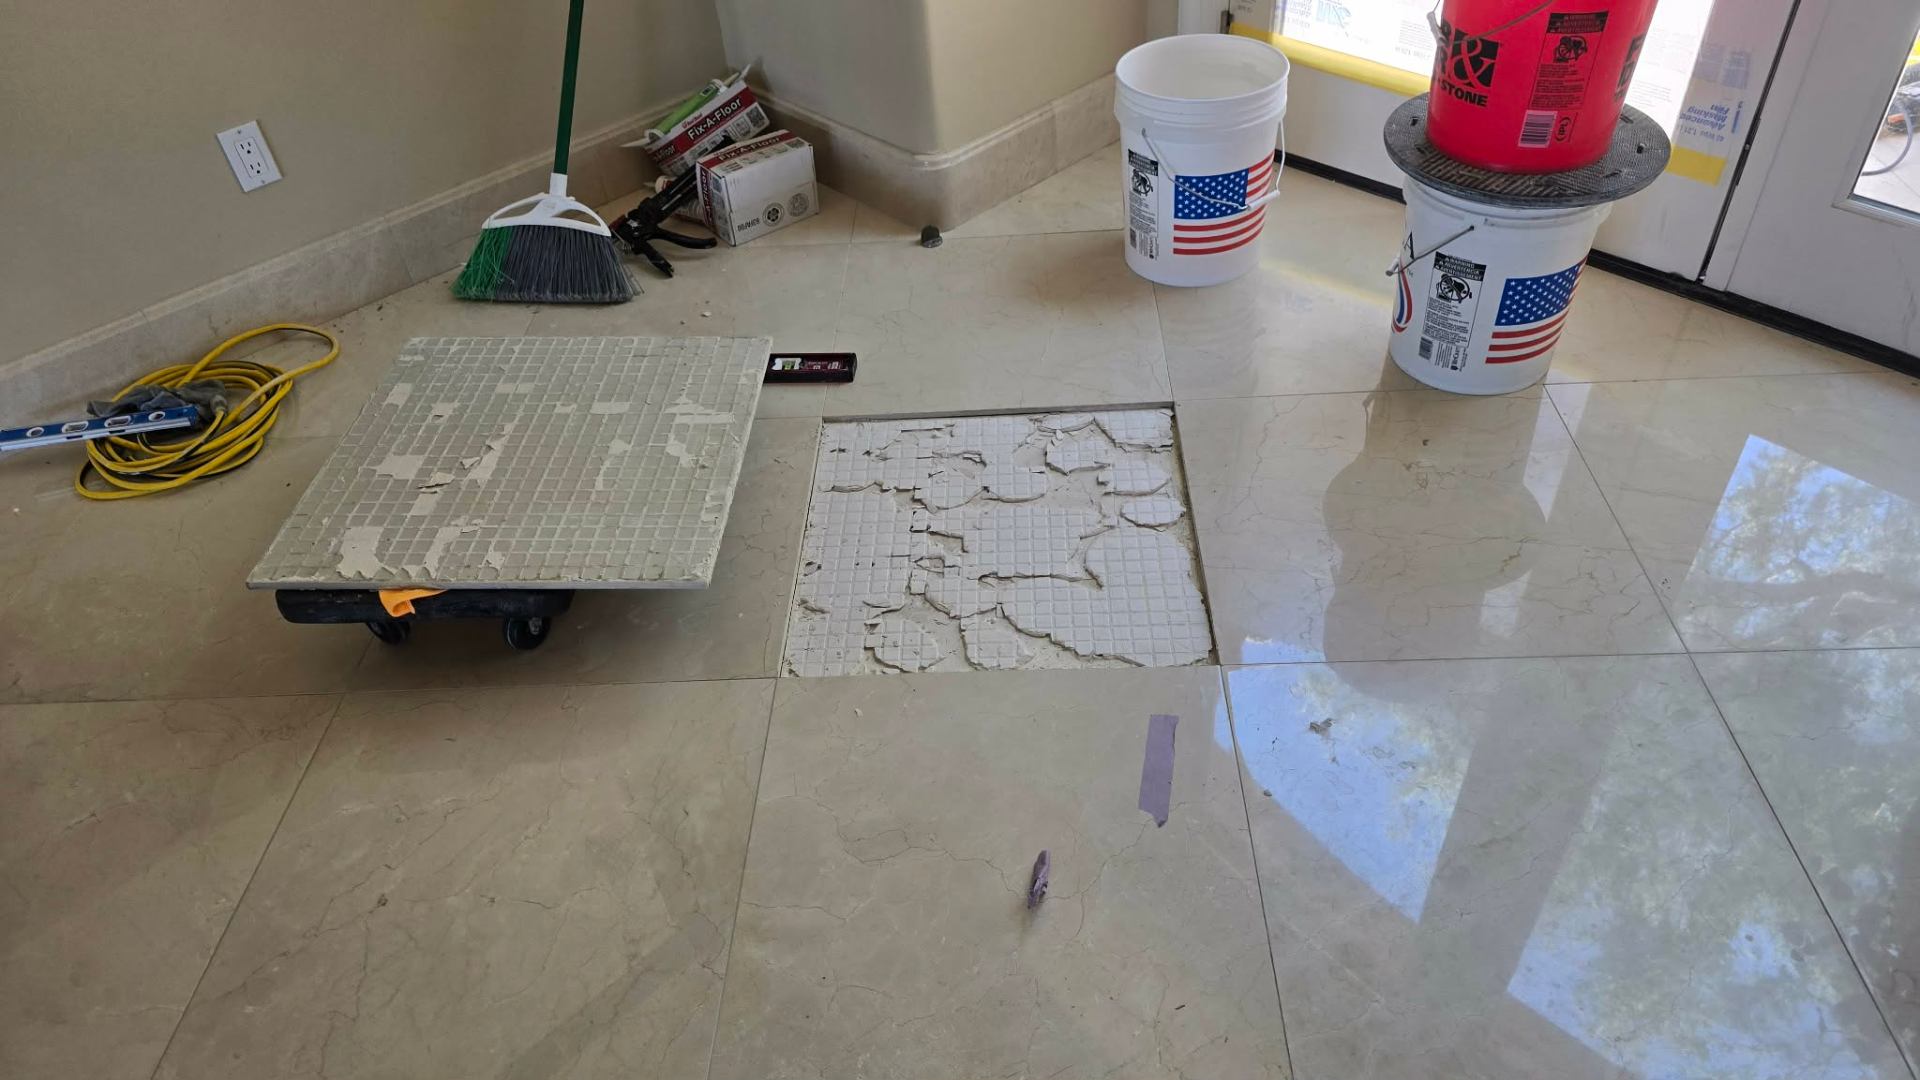
- Set with the correct notch trowel, directional troweling, and back buttering so ridges collapse flat and coverage meets standard, verified by pulling and checking a tile
- Match grout, then unify the floor with grout color sealing so the repair does not read as a patch and every joint carries the same protection
- Confirm by sounding the repaired area again once cured. Solid tone, or we are not done
| Approach | What It Addresses | Typical Arizona Cost | Outcome |
|---|---|---|---|
| Ignore the hollow sound | Nothing | $0 now | Void spreads, cracks multiply, repair scope grows |
| Cosmetic caulk or grout patch | Appearance only for a season | Low | Cracks return, bond keeps failing underneath |
| Targeted removal and re-bond plus color seal | The void, the cause, and the finish | Quoted per tile and linear foot after a walkthrough | Solid floor, uniform joints, 15-Year Warranty on the color sealed grout |
| Full tear out and retile | Everything, including tile you liked | $15,000 to $30,000 typical whole home | New floor, weeks of disruption, and the same risk if set poorly again |
Can Hollow Tile Be Prevented on a New Floor?
Yes, and it costs almost nothing at install time. Correct notch trowel for the tile size, directional troweling, back buttering on stone and large format, mortar that has not skinned, a clean slab, crack isolation over known cracks, and movement joints at the perimeter and in long runs. Every one of those is a decision, not an expense. If you are in a new build or a remodel right now, a pre-grout inspection is the cheapest insurance available: pull one tile, look at the coverage on the back, and you know in five minutes whether the rest of the floor was set correctly. Our new construction inspection service exists for exactly this, and coverage failures found before grouting are the installer's responsibility to correct.
"Nobody notices good mortar coverage. Everybody notices the crack it would have prevented."
Hollow Tile and Debonding Repair Across the East Valley
We diagnose and repair hollow tile, debonded stone, stress cracks, loose baseboard tile, and shifting floors in Chandler, Gilbert, Mesa, Tempe, Ahwatukee, Scottsdale, Paradise Valley and Phoenix. Repairs are quoted after a walkthrough where we sound the floor and show you the map, tile and grout cleaning starts at $1.00 per square foot, and grout color sealing carries a $750 minimum with our 15-Year Warranty so the joints you just paid to repair never need sealing again. Call 480-352-0392 to book a consultation, or read our guides on tile and stone repair, grout color sealing (see the full chart of grout colors we seal to), and restoration versus retiling costs.