
A homeowner in Paradise Valley called us in after years of watching their beautiful Marmocer veneer marble floor slowly fall apart. Grout lines were cracking from one end of the room to the other. Tiles visibly rocked when you stepped on them. The stone itself had gone dull, etched, and weathered from years of cleaners attacking an already compromised surface. The root cause was not the marble. It was how the floor was installed. The crew spot bonded the tiles instead of using full directional troweling, and once a spot-bonded floor starts to move, it never stops on its own. Here is what we found, what spot bonding actually is, why hollow tiles are a ticking clock during a builder warranty, and exactly how we rebuilt this floor to be solid, level, and stunning again.
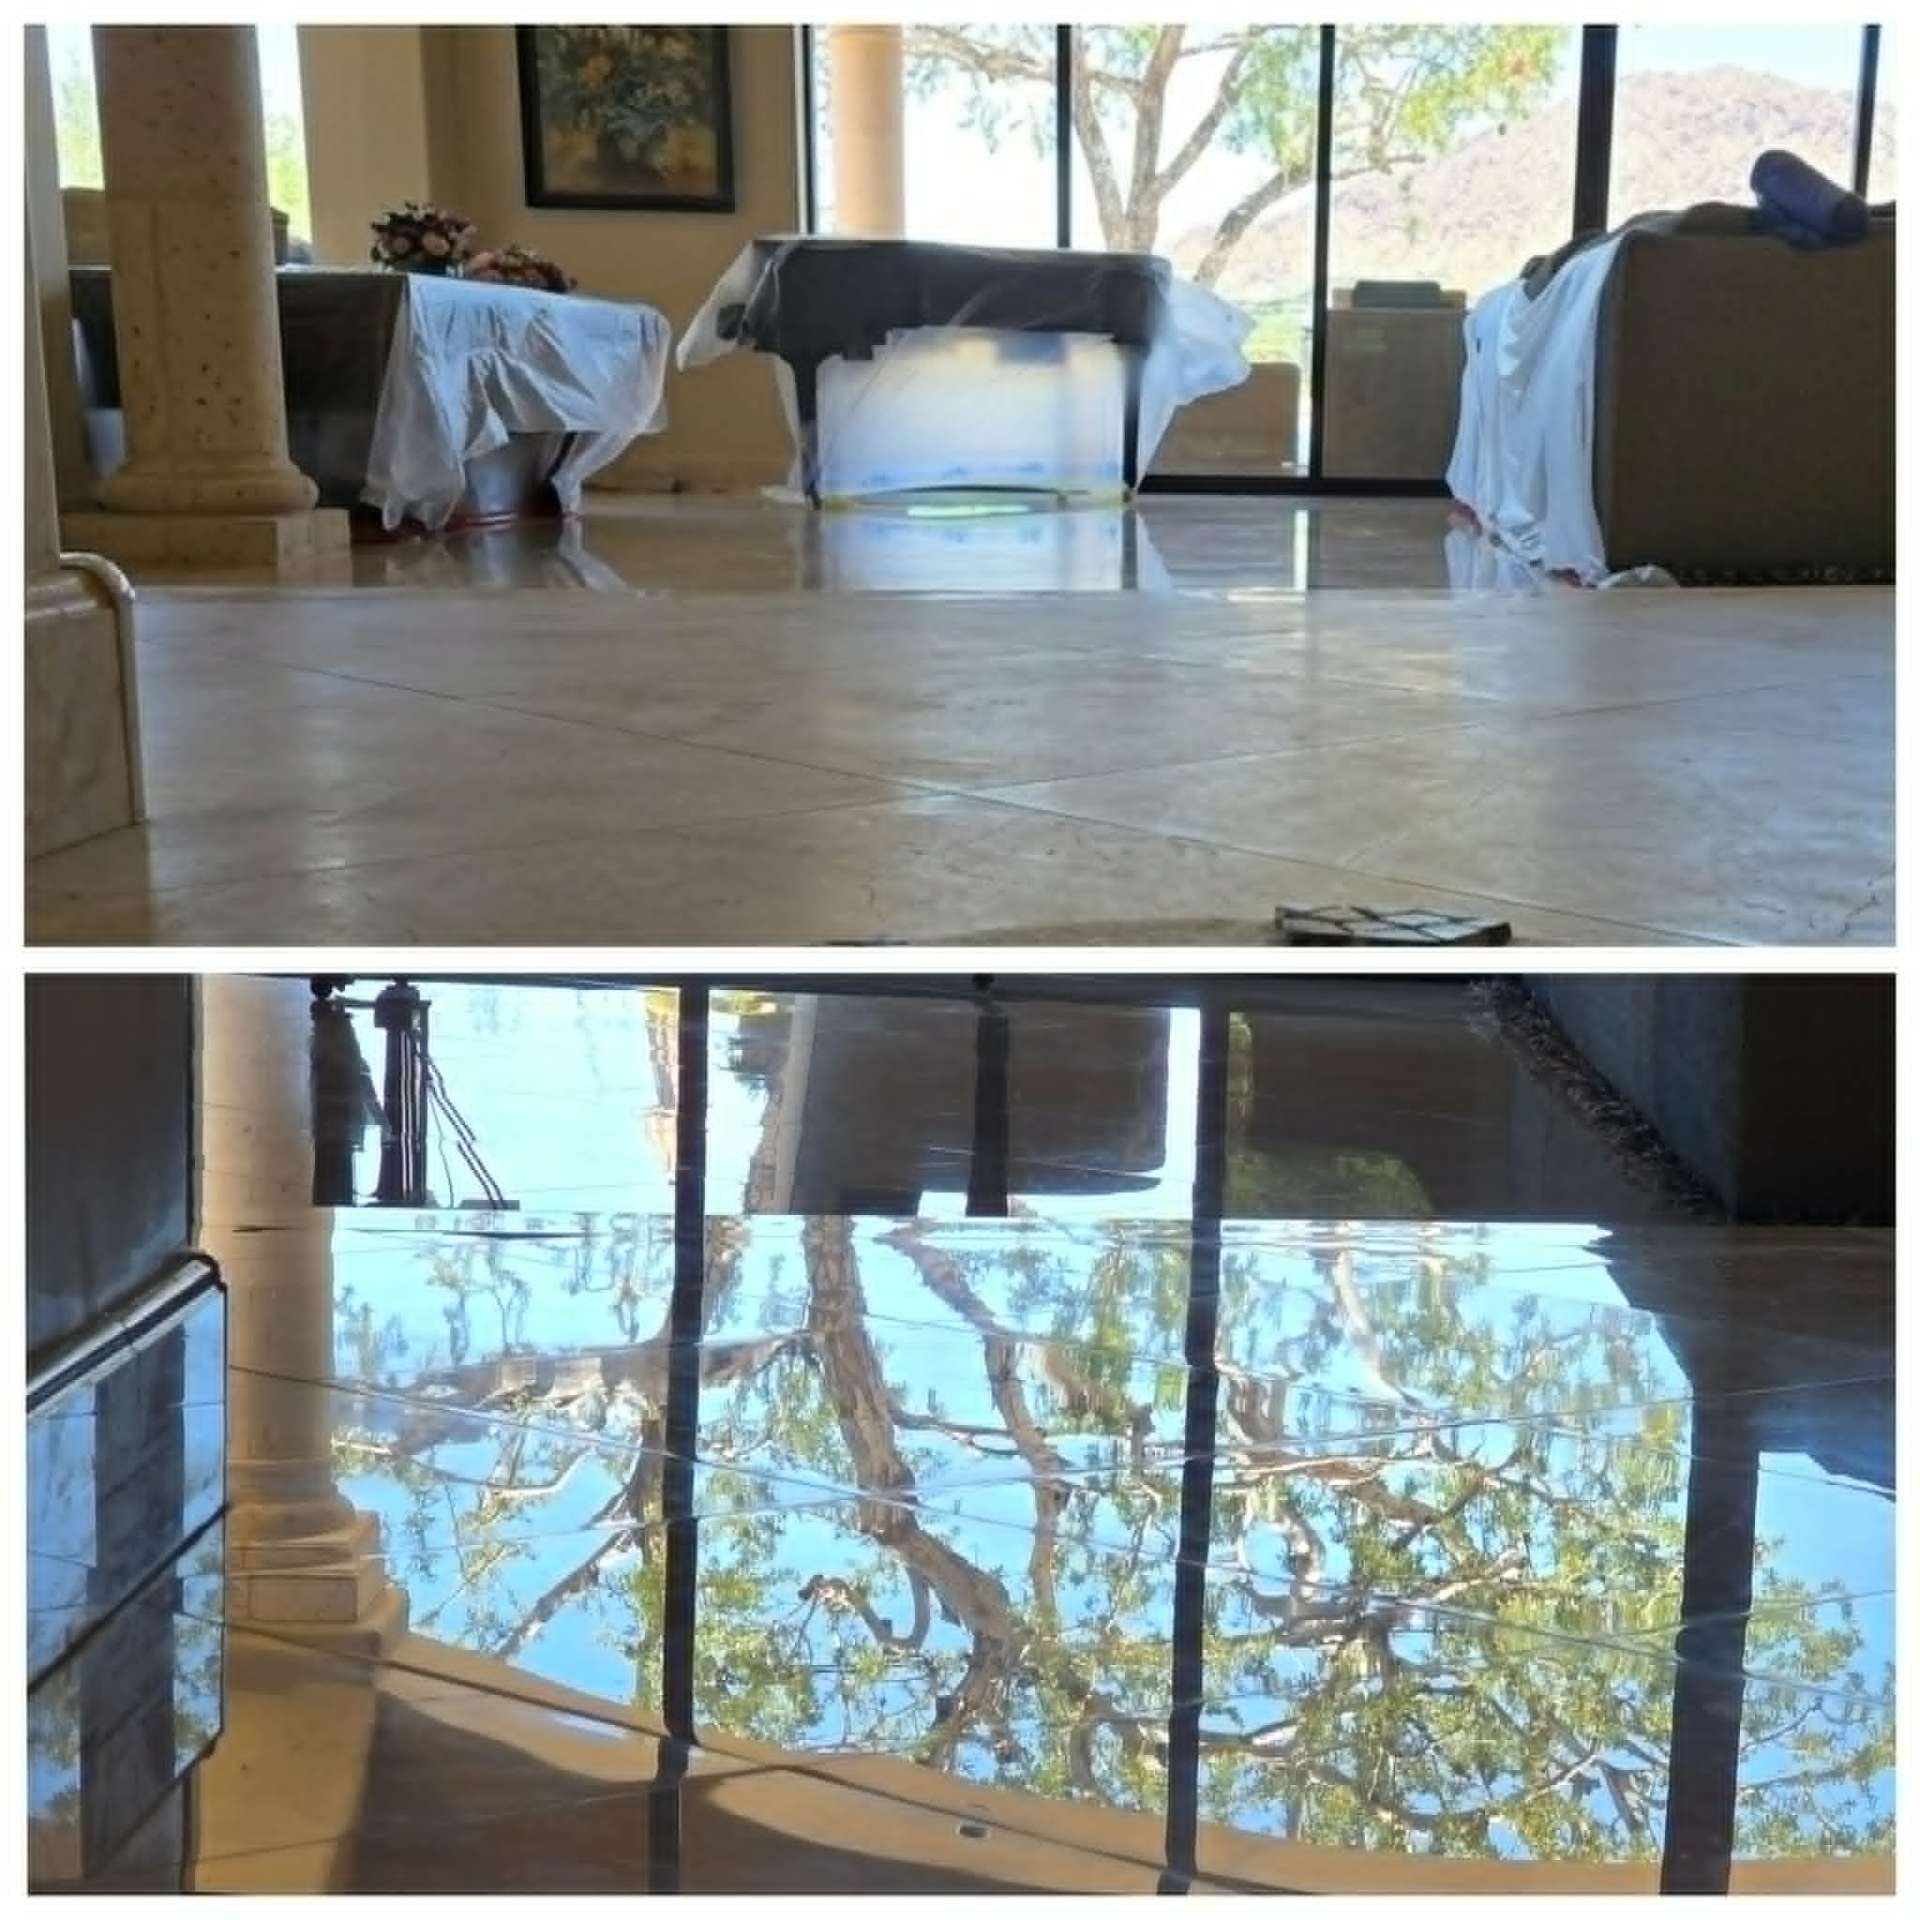
What We Walked Into: A Marmocer Veneer Marble Floor in Trouble
Marmocer veneer marble is a thin layer of real marble bonded to a porcelain or composite backer. It is beautiful, but it is unforgiving. The thin marble face cannot flex. When the substrate moves even slightly, the bond breaks, the grout cracks, and the tile begins to rock. That is exactly what we found across this Paradise Valley home.
- Hairline and open cracks running through nearly every grout joint in the main living areas
- Multiple tiles that visibly dipped or popped when stepped on, especially along traffic paths
- A hollow, drum-like sound across large sections when we tapped with a sounding rod
- Etched, dull, weathered marble faces from years of incorrect cleaners on a stressed surface
- Loose fragments of old grout sitting inside the joints, no longer bonded to the tile edge
If your tile rocks, clicks, or sounds hollow when tapped, you do not have a grout problem. You have a bond failure underneath, and every step is loosening it further.
What Spot Bonding Actually Is, and Why It Always Fails
Spot bonding is exactly what it sounds like. Instead of trowelling a full bed of mortar across the back of the tile, the installer drops five small dabs of mortar, one in each corner and one in the middle, then presses the tile down. It looks fine on day one. The tile is level, the grout joints are clean, and the homeowner has no idea what is under their floor. The problem is that 60 to 80 percent of the tile back is sitting on air.
- Every footstep flexes the unsupported area, slowly breaking the five small bond points
- Hollow voids trap moisture, which weakens the thin-set and accelerates debonding
- Marble veneer cannot bridge the void, so it cracks across the face under point loads
- Grout joints lose their backing and crack as the tiles below them shift independently
- Once one tile fully debonds, neighboring tiles lose support and the failure spreads
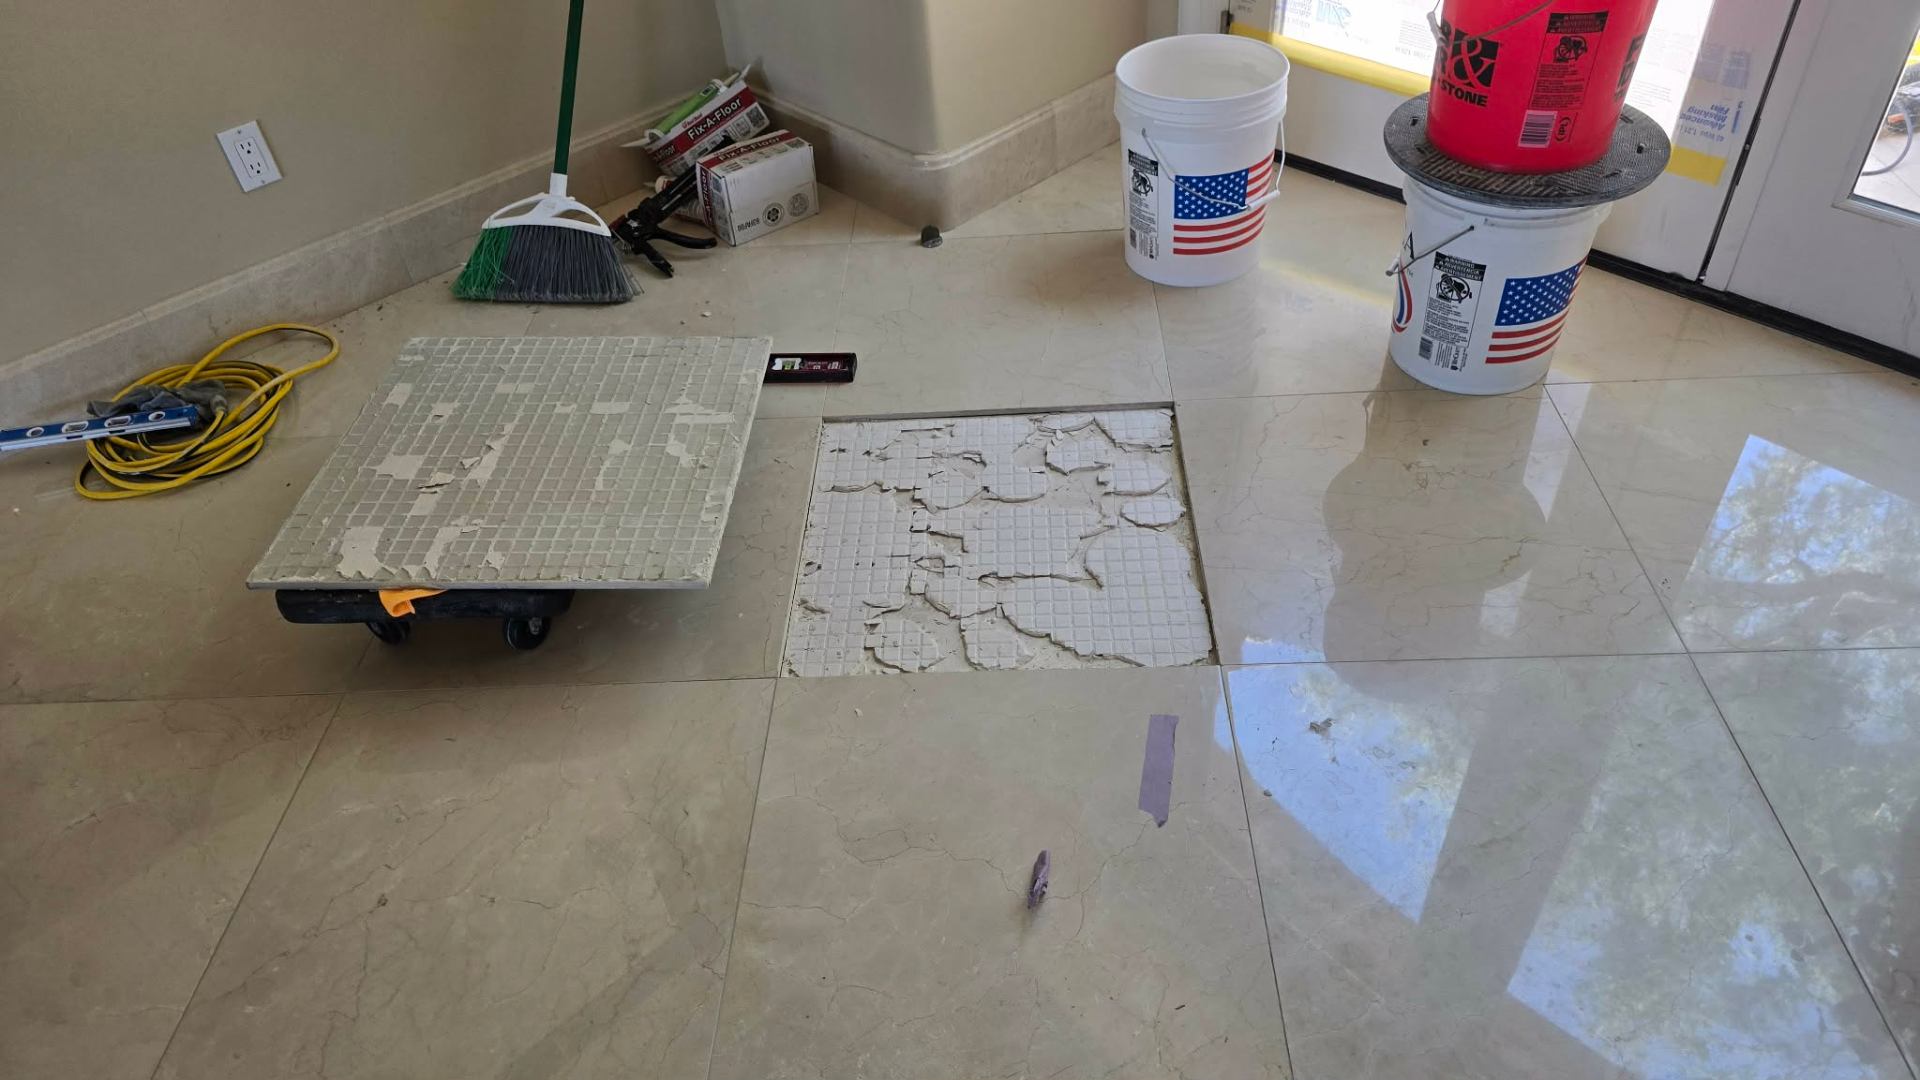
What Proper Directional Troweling Looks Like
The TCNA and ANSI standard for natural stone is a minimum of 95 percent mortar coverage on the back of every tile in wet areas and on every large-format stone, and 80 percent in dry interior areas. The only reliable way to achieve that is directional troweling. The installer combs the mortar in straight parallel lines using a notched trowel, then sets the tile by sliding it perpendicular to those lines. That collapses the ridges into a continuous, void-free bed.
- Straight, parallel mortar ridges combed in one direction across the substrate
- Tile set by sliding perpendicular to the ridges so the mortar collapses and fills
- Back-buttering the tile with a flat skim coat for large-format and natural stone
- Periodic tile lift checks during install to confirm full mortar transfer to the back
- Polymer-modified, stone-rated thin-set for veneer and natural marble products
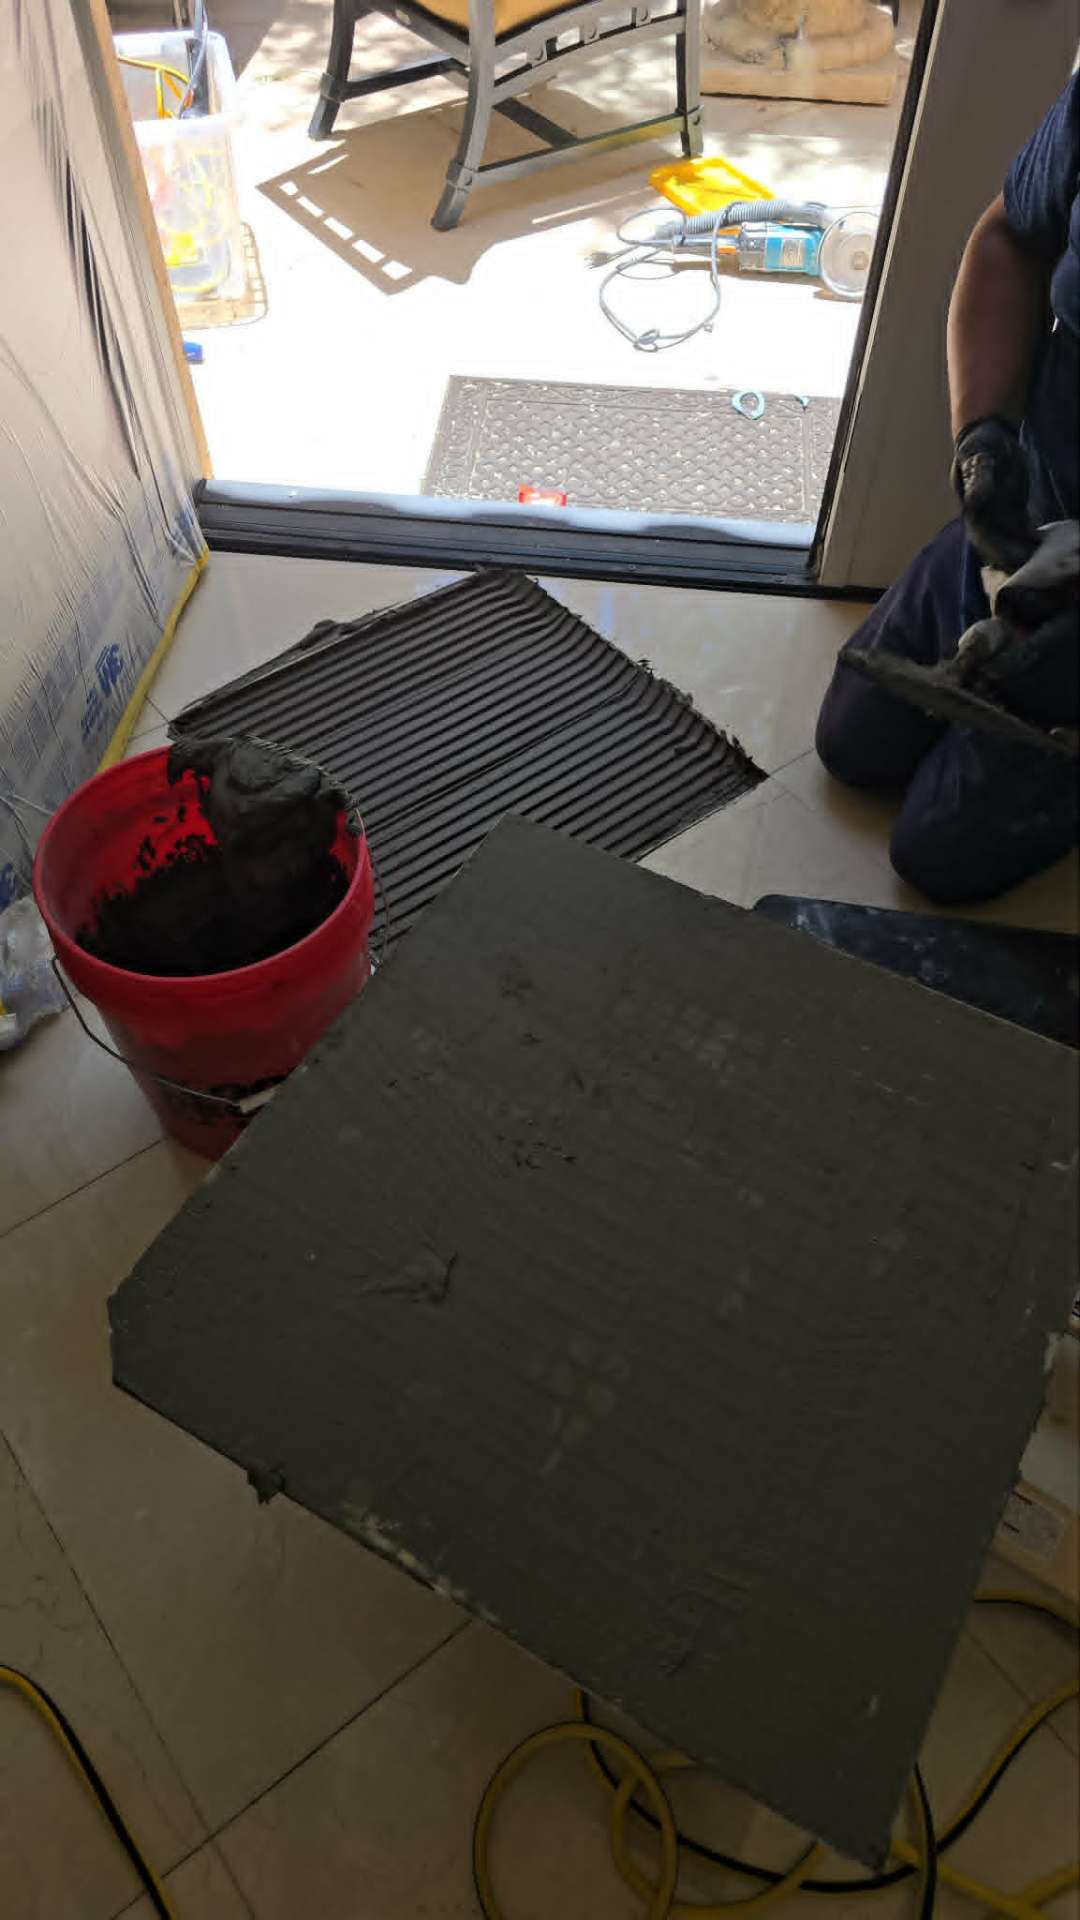
Hollow Tiles and Your Builder Warranty: Look Now, Not Later
Most production builders in Arizona include a one or two year workmanship warranty that covers tile installation defects, including hollow tile and bond failure. Almost nobody uses it, because almost nobody checks. The damage from spot bonding can take three to five years to show up visibly, long after the warranty closes. By then the homeowner is paying out of pocket for what should have been a warranty claim.
- Walk every tiled area within the first 30 days of closing and tap with a wood or rubber mallet
- A solid tile gives a tight, high-pitched click. A hollow tile gives a deep, drum-like thud
- Mark any hollow areas with painter's tape and document them with dated photos
- Submit a written warranty claim before the workmanship window closes, even if nothing is cracked yet
- Request the builder open and inspect mortar coverage on at least one suspect tile
A hollow tile is not a cosmetic issue. It is a structural defect that will fail. Catch it during the warranty window and the builder owns the fix. Wait, and it becomes your project.
How We Rebuilt This Paradise Valley Floor
Restoring a spot-bonded floor without ripping it all out is real work. It is messy, methodical, and slow. There are buckets of mortar and resin around the room, painter's tape everywhere, fans running to flash off adhesives, and dwell times that cannot be rushed. The glue has to cure. The mortar has to set. The grout has to harden before honing. We do not skip a step because the entire point is to make the floor solid for decades, not pretty for a week.
- Full sounding survey: every tile tapped and mapped for hollow zones and full debonds
- Tiles that were rocking or fully loose lifted carefully, backs cleaned of old thin-set
- Substrate prepped, vacuumed, and primed before re-bedding with stone-rated polymer mortar
- Lifted tiles re-set with proper directional troweling and back-buttering for full coverage
- Hollow but still attached zones stabilized with over 150 tubes of Fix-A-Floor injection adhesive through micro-ports in the grout joints
- Adhesive given full cure time before any weight, polishing, or grouting work resumed
- All old, cracked, and loose grout removed from every joint across the affected areas
- Joints refilled with a flexible, polymer-modified grout matched to the original color
- Entire floor diamond honed in sequence to flatten lippage, remove etching, and reset the surface
- Repolished through fine grits to bring the marble back to its original deep reflective finish
- Penetrating impregnating sealer applied across the entire restored area for long-term protection
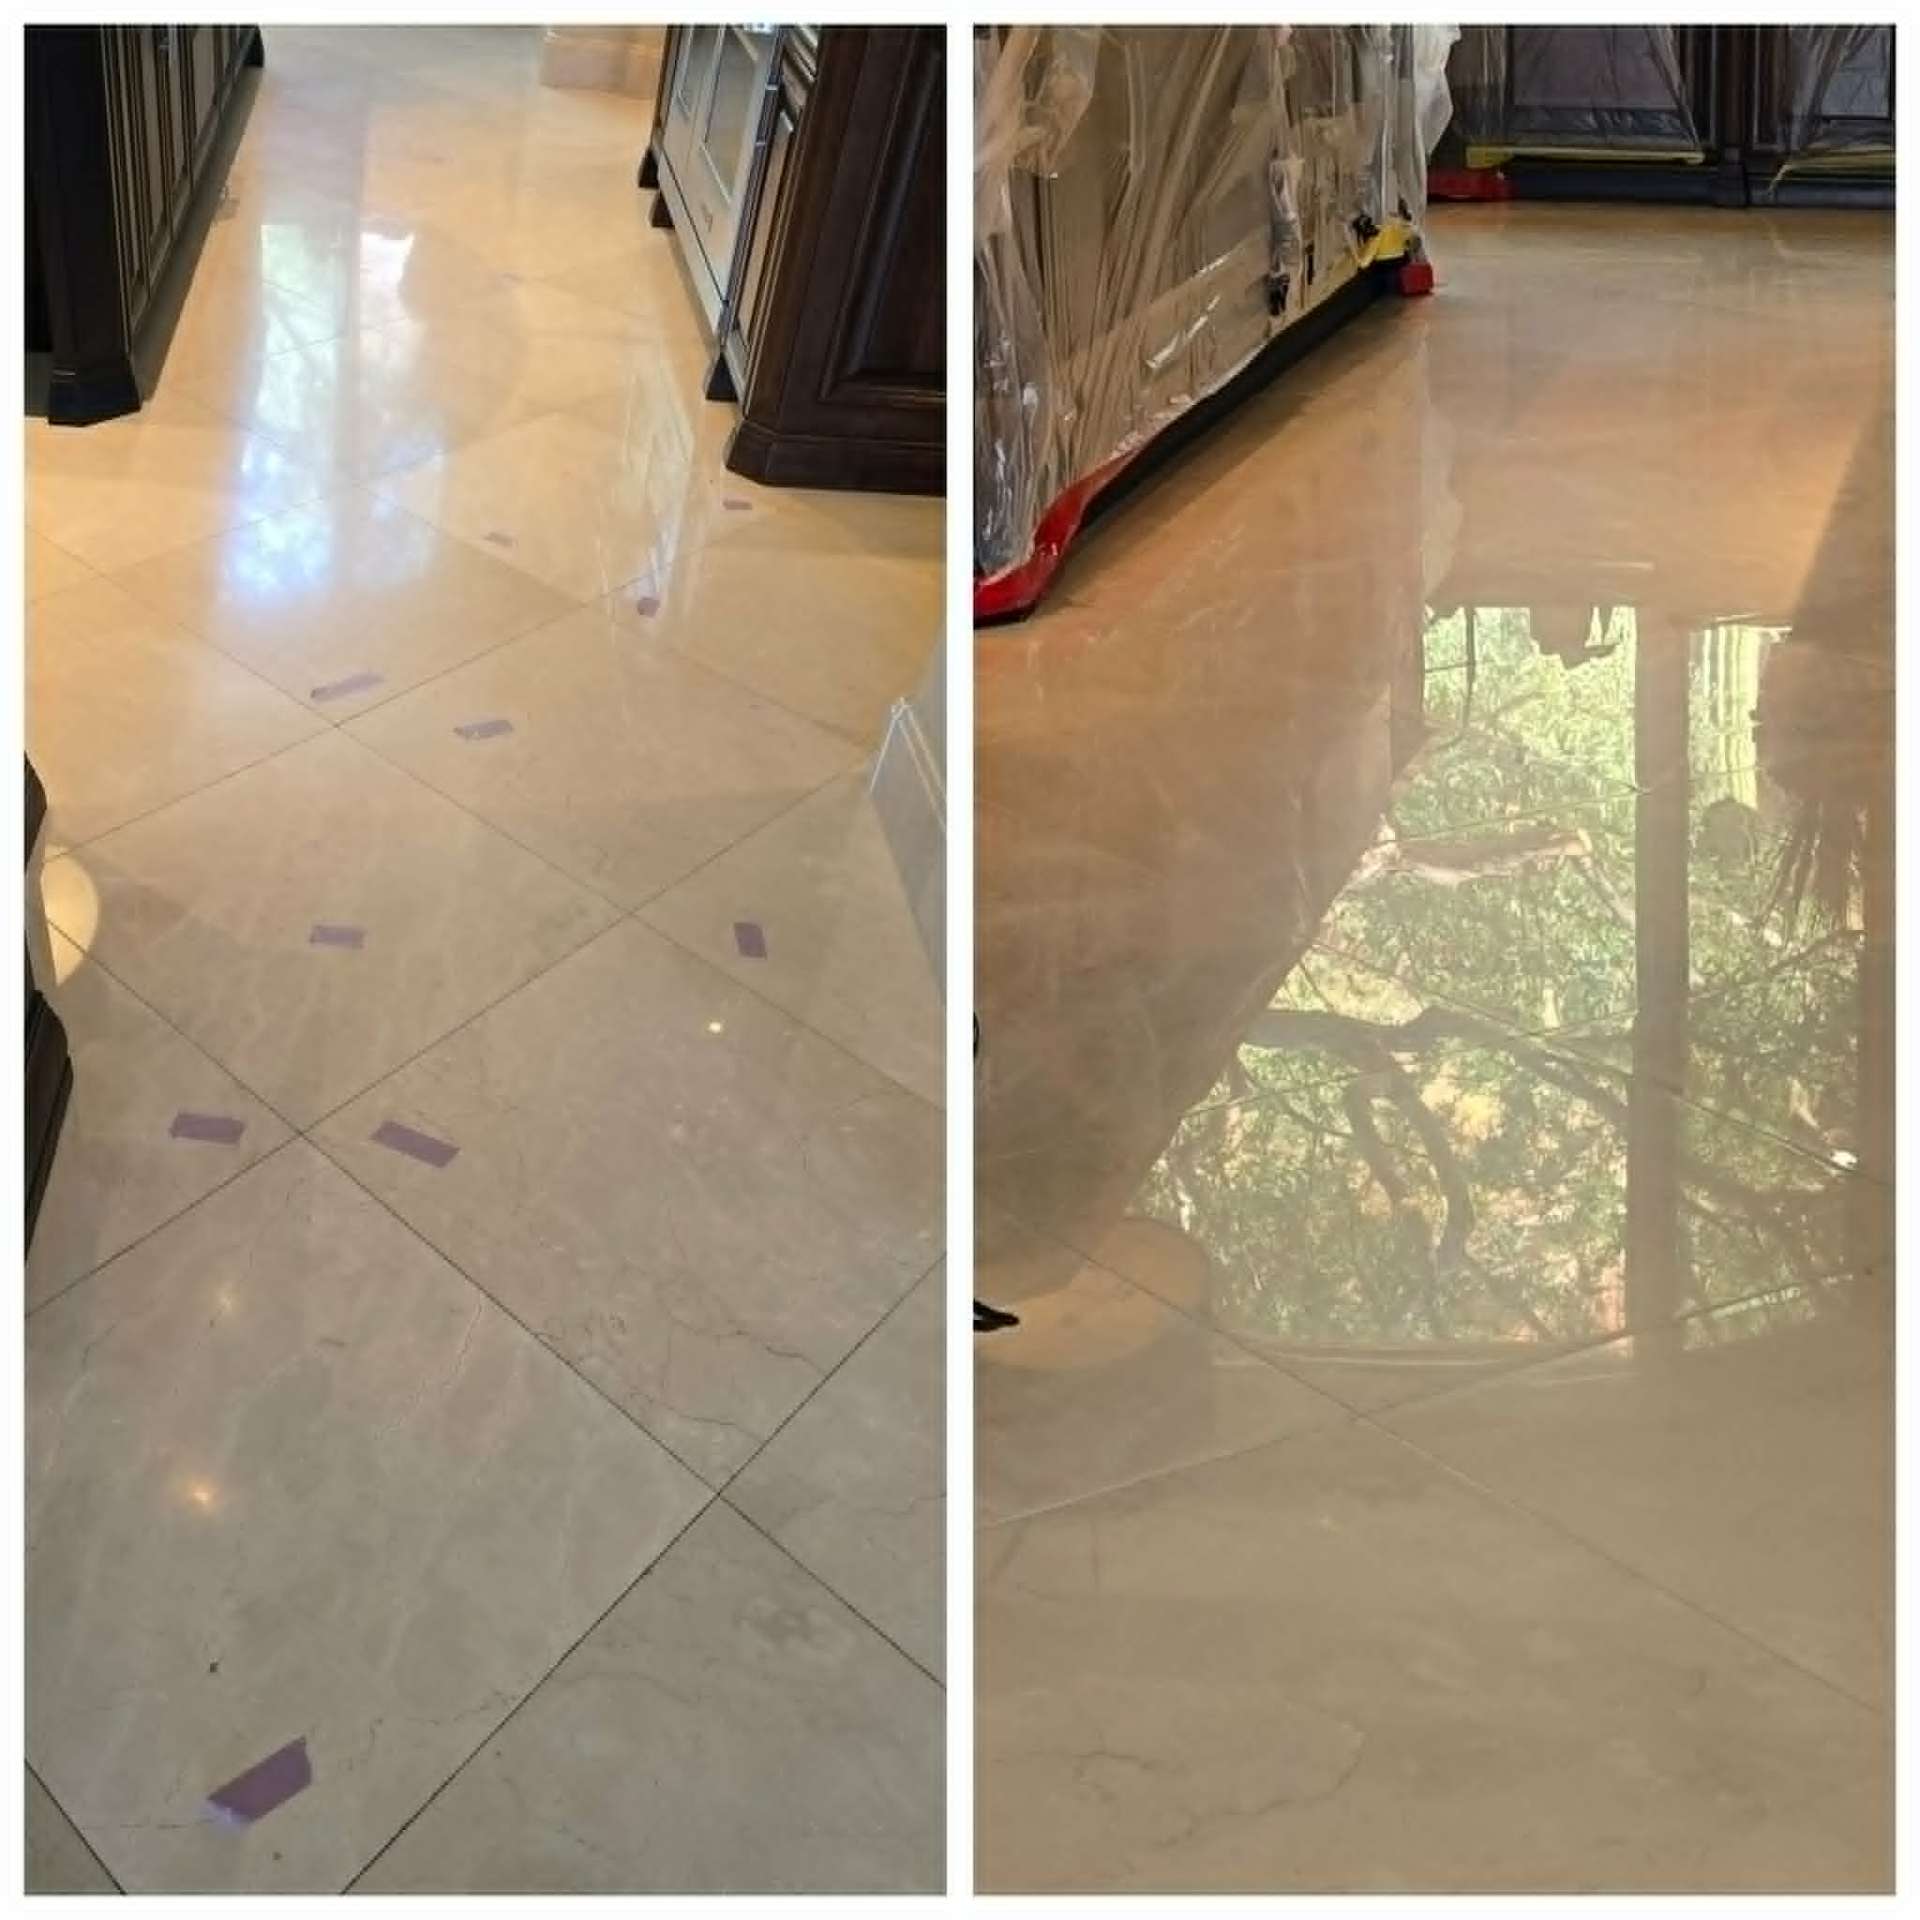
Why the Mess Matters: Buckets, Fans, and Cure Times
Clients sometimes ask why their living room looks like a small construction site for a few days. The answer is honesty. Real restoration cannot be done dry and clean in two hours. Fix-A-Floor injection requires hundreds of small ports, careful tube changes, and waste rags. Re-bedding tiles requires open mortar buckets, notched trowels, and clean water for tooling. Honing and polishing requires slurry containment and constant water management. We bring the mess in so we can leave the floor solid, level, and finished, then we clean everything down to the baseboards before we hand it back.
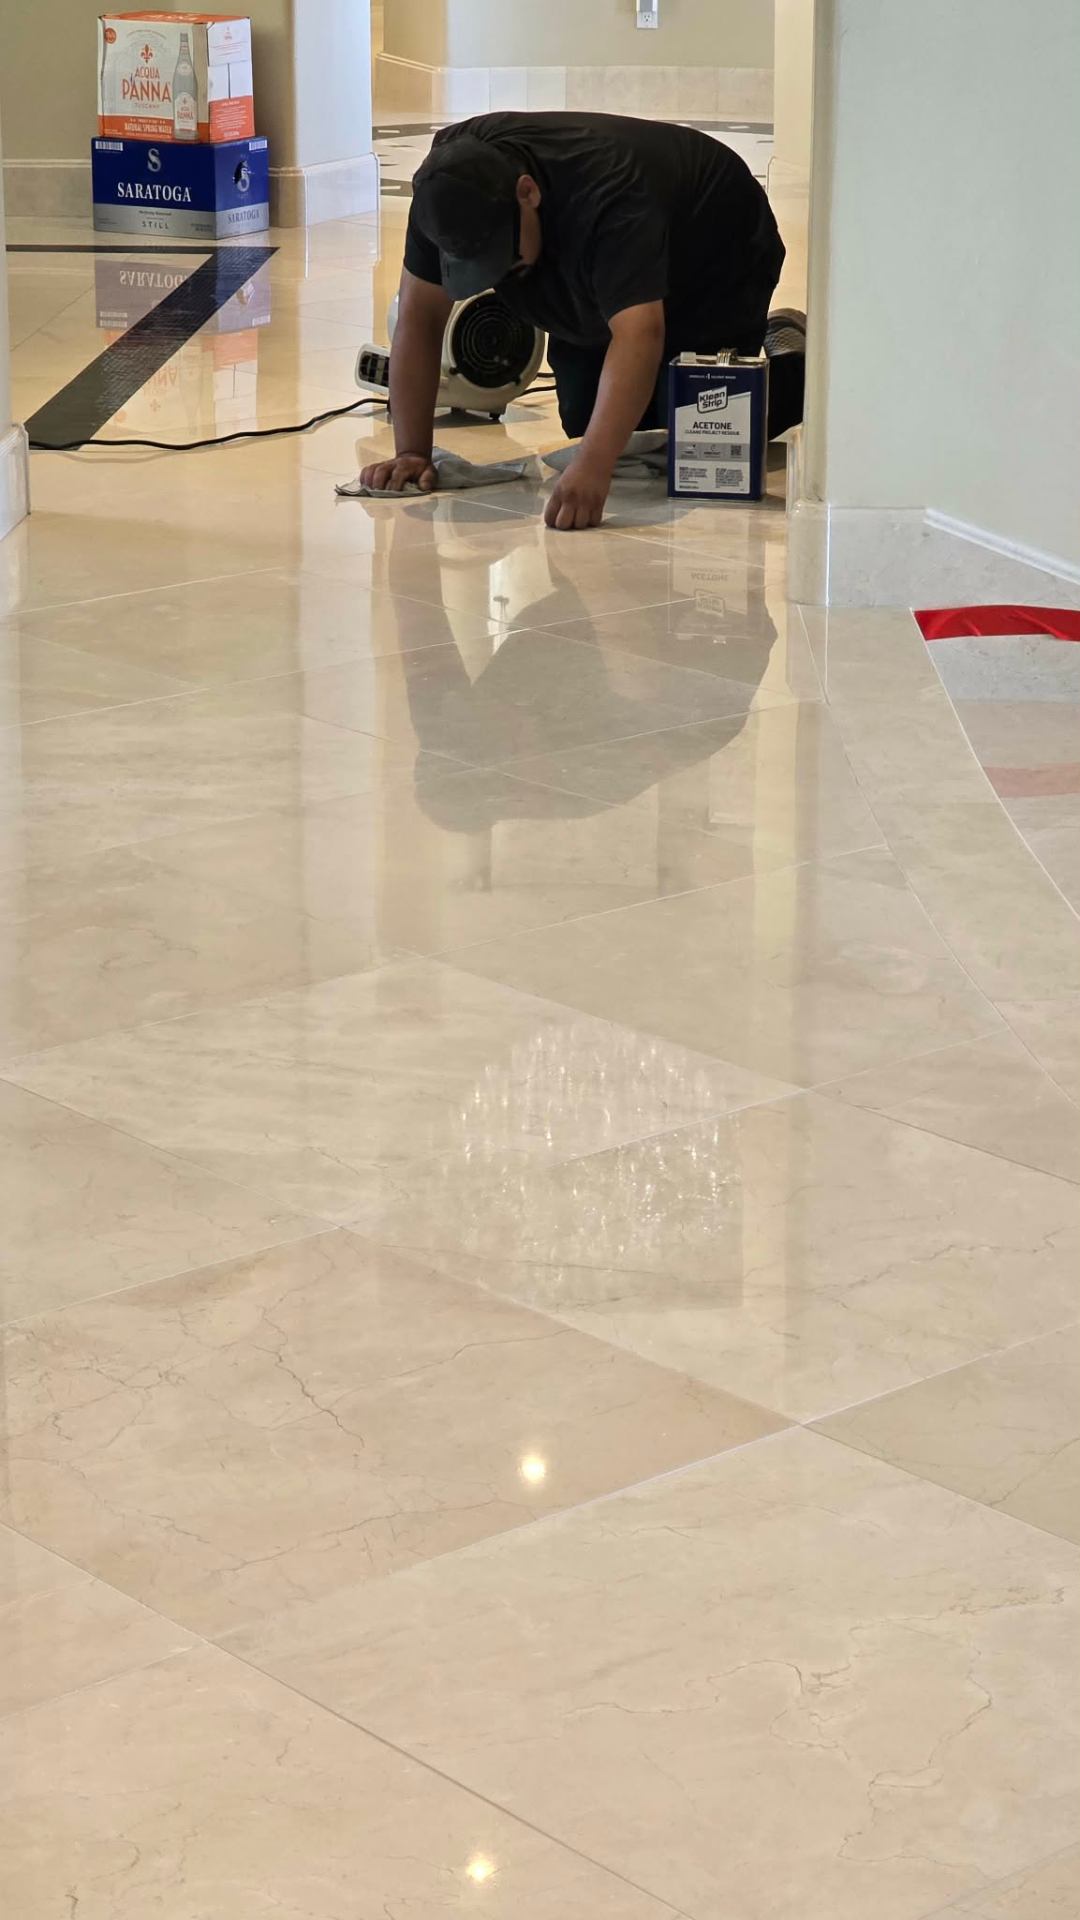
Restoring the Grout: From Cracked Lines to a Continuous Seal
Grout is what visually ties a tile floor together, but it is also what tells you the substrate has failed. Cracked grout in a straight line across a room is almost never grout failure. It is movement failure underneath. Once the tiles below are re-bonded and stable, the grout can finally do its job. On this Paradise Valley floor we removed every compromised joint, vacuumed the channels clean, and refilled with a flexible polymer-modified grout color matched to the original. The result is a continuous, sealed grid that moves slightly with the building instead of cracking against it.
Honed, Polished, Sealed: Bringing the Marble Back
With the floor finally solid and the grout restored, we moved into the surface work. Years of incorrect cleaners had etched the marble and dulled the polish. We diamond honed the entire floor in sequence, lifting etch marks and any lippage left from the rebond, then polished through fine grits to bring back the deep reflective finish Marmocer veneer is known for. A penetrating impregnating sealer went down last, soaking into the stone so future spills can be wiped before they etch. The floor that started the week rocking and cracked now reflects the Paradise Valley mountains.
"There is no point in making something beautiful that is uneven and broken underneath. We restore each tile so the floor is solid first, then we make it stunning."
Restoration vs. Grout Color Sealing
This Paradise Valley project was a structural repair and surface restoration, not a Grout Color Sealing service. Our 15-Year Warranty applies specifically to Grout Color Sealing installations, where we seal and protect the grout with a specialized colorant system. Structural rebonding, honing, polishing, and impregnating sealer are restoration services scoped and priced per project based on the extent of the damage. If you are unsure which service your floor needs, we can assess it on-site and walk you through the options.